PRODUCT INTRODUCTION
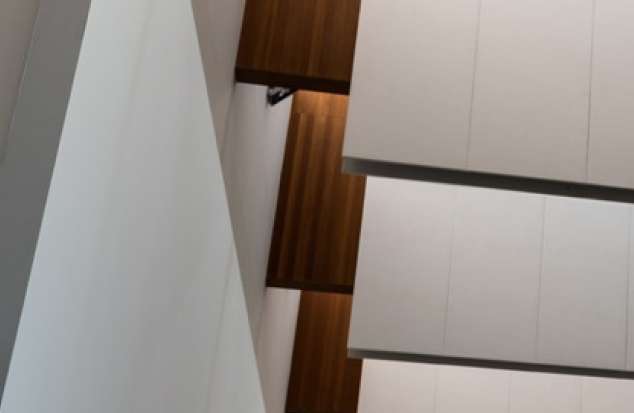
Made of high standard mineral wool materials that is fire-resistant, has good acoustic absorption and high thermal performance. With a wide range of systems, colours and surface finishes it is a versatile product for any ceiling application.
The product is stable and will not deform in different environments, especially in the case of high humidity.
PRODUCT ADVANTAGES
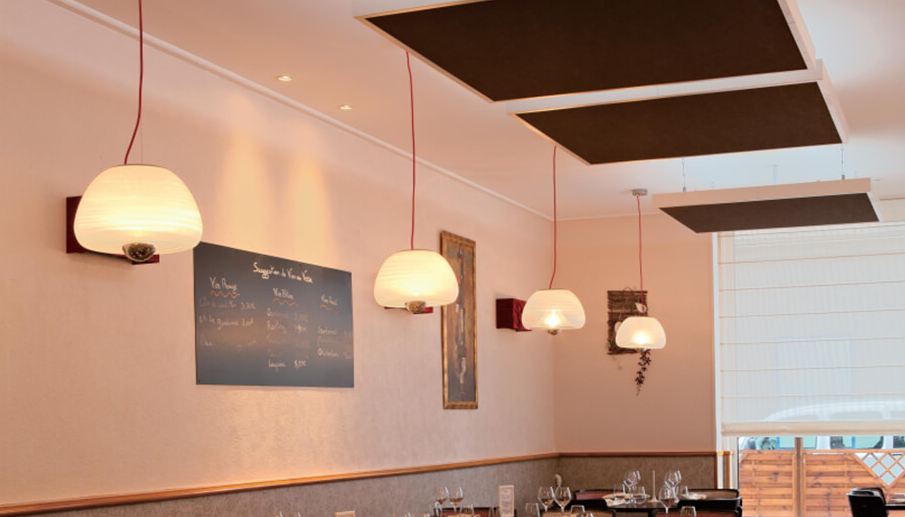
Eurocoustic Mineral Wool, One Material that has many advantages

-
ACOUSTIC ABSORPTION
Absorbs direct and indirect sound transmission while maintaining aesthetic appearance.
The Insula® concept enhances the acoustic performance of the decorative panels that fill it by combining direct and indirect absorption.
-
FIRE RESISTANT
The fire rating is depending on the filling ceilings.
-
HUMIDITY PERFORMANCE
RH100 Humidity Resistant and No Sagging
-
ENVIRONMENT AND HEALTH
Environment
Mineral wool is recyclable, and the vast majority of production waste is recycled. The recycled content of our panels is 45%.
For projects based on NF HQE, LEED and BREEAM construction principles, the verified Environmental & Health Product Declarations are available. Please contact us for more information about environmental certification.
Eurocoustic is ISO 14001: 2004 certified (Environmental Management System).
Health
Stone wool ceilings are manufactured with fibers exempt from the carcinogenic classification (European Regulation 1272/2008 as amended by European Regulation 790/2009). According to the International Agency for Research on Cancer, mineral wool is non-carcinogenicity to humans.
PRODUCT DESCRIPTION
-
 INSTALLATION
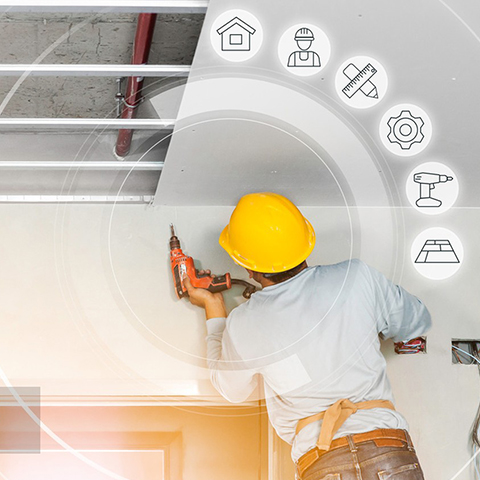
Standard kit comprising: frame + grids + accessories. Hangers and upper fixing components must be obtained separately according to the type of supporting structure (timber, concrete, steel, etc.)
1. Suspend the primary beams. Mount the Cross-Lock connectors to primary beams, positioning them at the slots.
2. Mount the secondary beams and secure the Cross-Lock connections by bending the tabs as indicated.
3. Mount the Insula® edge clips at designated places. Twist-in at 100mm from profile ends.
4. Mount the Insula® corners and edge elements in designated order and directions.
5. Mount the last Insula® corner. To create space, both adjoining parts should be moved outwards (10mm). Secure the Insula® edge profles & corners connections with the screws. Install the flling panels.
-
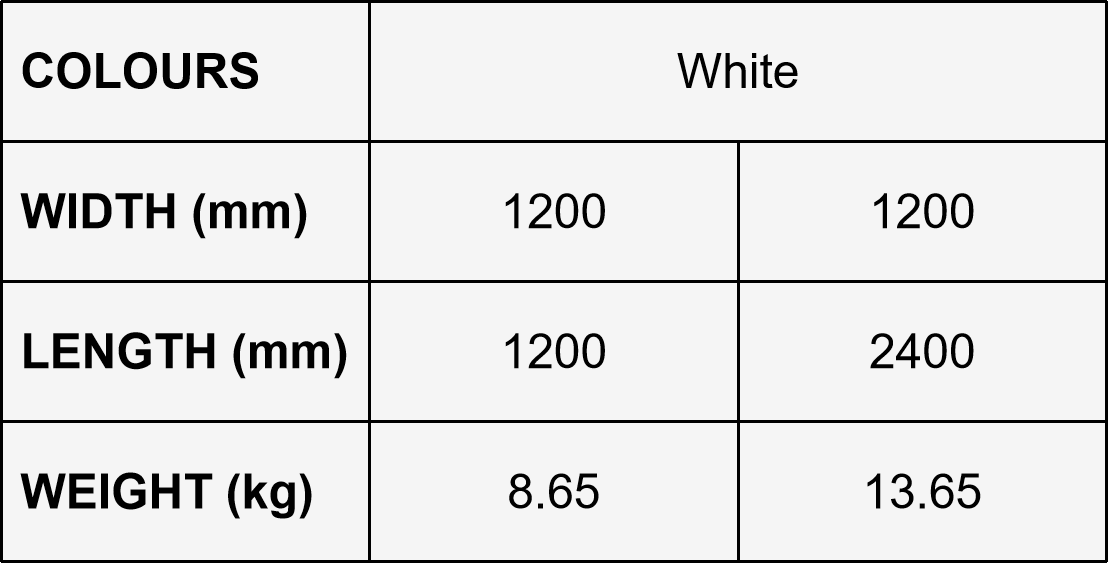
 SPECIFICATION
CONTACT US
IF YOU HAVE ANY QUESTIONS ABOUT OUR PRODUCTS, PLEASE CONTACT US
-
Email
terry@enp-china.com
-
Company Address
Suite 903-905, Building B, Lanyun Culture Center, Lane 899, Panlong Rd, Qingpu Disitrict, Shanghai.


